How Much Does A Cinema Room Cost ? Part 1 - Acoustics & Light Levels.
- Back to News Home
- 19th February 2020
In part 1 of this series, we look at what's involved in treating the acoustics of your cinema room and dealing with light control to give you professional results at home.
Part 2 is HERE - Projectors & ScreensPart 3 is HERE - Speakers & Subwoofers Part 4 is HERE - Installation & Calibration
I started installing bespoke cinema rooms over 25 years ago when I worked in London for a well known audio/video shop that specialised in high end hi-fi and home cinema installations. Based in central London, we got to meet a wide range of clients from the budget conscious tech guys to the "Here's my Amex card - just make it happen" City types. What I quickly learned after a few years and several installations later, was that a budget cinema room can sound and look amazing and at the same time a super expensive solution can sound and look equally awful. The detail really is in the planning and execution, and having a good understanding of the room it's going to be installed into. Get that wrong and whatever your level of investment, you may as well book yourself a ticket to the local cinema house for a better experience.
So, where to start when discussing prices - well, I like to split the planning of a cinema room into 4 main areas where your money should be spent. Each of these 4 is crucial and i'm going to put the MOST IMPORTANT one first, because it's the one everyone likes to leave out, thinking they don't need to worry about it. So let me say it again - its the MOST IMPORTANT one.
1 . ROOM ACOUSTICS AND LIGHT CONTROL
Get these right, and even some real budget gear can shine - there's nothing worse than playing back a high quality movie soundtrack through some great speakers only to launch it into a harsh sounding room that echoes and flutters, smearing the sound into a mush. If you hear a gunshot in the movie, it should sound like a real gun and hard walls and floors are going to make a real mess of that effect. A lot of AV receivers now come with a room calibration microphone system. These can be good ( we heartily suggest you check out the Dirac Live room correction system on the latest Arcam Receivers - our favourite calibration solution by far !) but they aren't a panacea for a poor room.
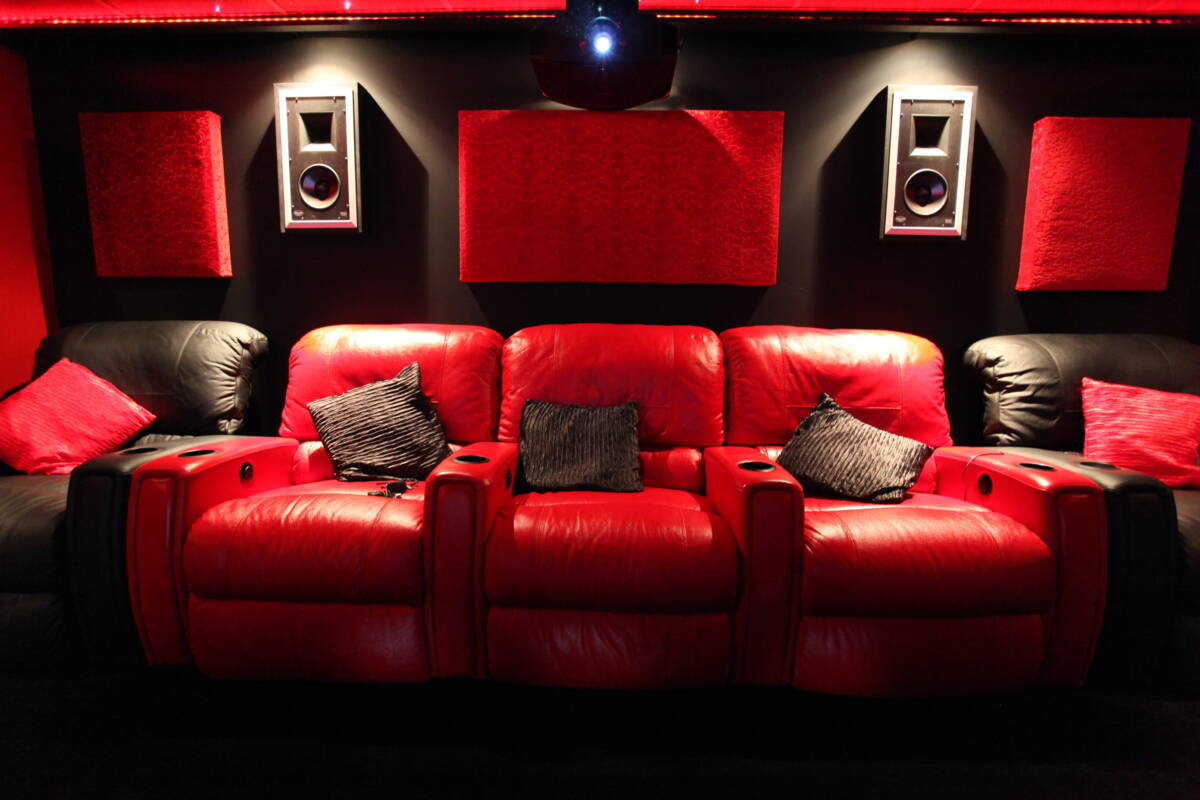
Consider adding heavy curtains, thick rugs and make sure your sofa is velvety plush and has lots of cushions - these will all help soak up some of the reverberant audio. If you're having carpet, go for a thicker weave ply with heavier underlay to damp floor reflections. Ideally, we would recommend you install a proper acoustic room treatment system. These typically consist of wall panels, a mix of absorbent and reflective materials designed to kill flutter echo (sound bouncing from wall to wall) and early reflections (you wall acts like a mirror at certain audio frequencies and sound will arrive at your ear slightly delayed, smearing the audio). Typically you are looking to cover around 30% to 60% of your surfaces with the acoustic treatment panels - and for professional results, install it on the ceiling as well. The trick is not to overdo it, as a room that's been too heavily damped can sound a little dead and lifeless. Remember, it doesn't need to sound like an an-echoic chamber.
While all this is going on, remember to paint the walls as dark as you are comfortable with. Black can be a bit intimidating or sombre for some tastes, so consider some mixtures of deeper reds, blues or purples, whatever takes your fancy - just remember to use MATTE finish paint. The darkest colours should go near to the projector screen and these will kill off any of the light that hits the projector screen from lighting up the walls. Light that reflects off your walls and ceiling/floors then back onto your screen reduces the black levels and those same reflections can cause distractions, taking your eyes away from the action on the screen.
A projector screen can be made from a variety of materials and finishes and some will also have a GAIN rating. Simply put, the higher the gain, the more of the light from the projector direction is bounced back to your seating position and less off to the sides. A matte white wall with have a gain of 1, so look out for the gain rating. Higher gain screens may help you in your room and similarly, LOW gain screens (under 1) can increase the black levels of your image.
Consider also how light from outside might get into your room. Blackout blinds will help here, just ensure they are true blackout, with guide rails at the sides to stop any light creeping in round the edges. Make sure your cinema room door doesn't let light in too and if you have equipment located under the screen, make sure it's behind a door so you don't see those distracting lights.
Probably the best example to mention is that of a really good cinema in your local town or city - think about how the big cinema chains have very low key lighting levels, so you can see where the steps are. The walls are dark and all of this combines to set your focus on the picture on the screen. By properly controlling the acoustics and light in your new home cinema room you'll be setting off on the best foot to installing the system of your dreams.
So how much will all this cost ? Well for a budget conscious solution, you could make your own DIY diffusor and absorption panels. Wood is cheap and if you're handy with a drill and a saw, you should be able to knock up some decent panels using dense glass fibre insulation sheets from your local DIY store. Cover these with some cheap fabric and you'll have an excellent solution to deadening those sound reflections and echoes.
So how much will this cost in my cinema room you may be wondering ? Well the DIY route we mentioned can be really cheap if you can source materials, maybe you have some wood and fabric in the garage so maybe as cheap as £50 to £100 for several panels.
For a professional room treatment package, you are more likely to be spending several hundred pounds, up to £10,000 + for a very bespoke solution that covers all the surfaces of your home cinema. At the high end of the cinema room market, room treatments are often disguised as surface finishes (sometimes also called Stretch Walls), integrated into the walls and ceilings rather than as stand alone panels. At this level we will often mix 2 or 3 types of absorptive materials to give a "broadband" effect in the room. Sticking with just one type of absorption material can sometimes give the room an odd acoustic signature, so we prefer to mix midrange and upper range acoustic materials to give a wider effect. Using a mix of 3 types of material (bass, mid and upper mid) typically gives the best effect.
At this level we will also include Bass Traps, designed to damp down excessive bass peaks in the room and especially used at the boundaries and corners of the rooms. We install ventilation holes in the "stage" areas of the room where the seats sit. These raised platforms are packed with sound absorbing material during the build process and we will build in several large vents to allow sound pressure to enter into the void where it is soaked up by the large volume of sound absorbing materials. This is really effective in cutting down the "bloom" of sound in a room.
The end result should be a very natural acoustic sound-stage from your loudspeakers with no sense of muddiness to the sound, uncomfortable pressure around your ears. If your speakers can play suitably loud, with low distortion, then your acoustically treated cinema room should let you turn the volume up without feeling uncomfortable. That's often our final test - how loud (without being too silly !) can we play the system while still hearing lots of detail and clean bass reproduction. We'll talk more about choosing LOUDSPEAKERS and SUBWOOFERS for your cinema room built in part 3 of our series.
Whatever your budget, feel free to call us anytime to discuss your own home cinema project in more detail or fill in our Contact for for more information.